
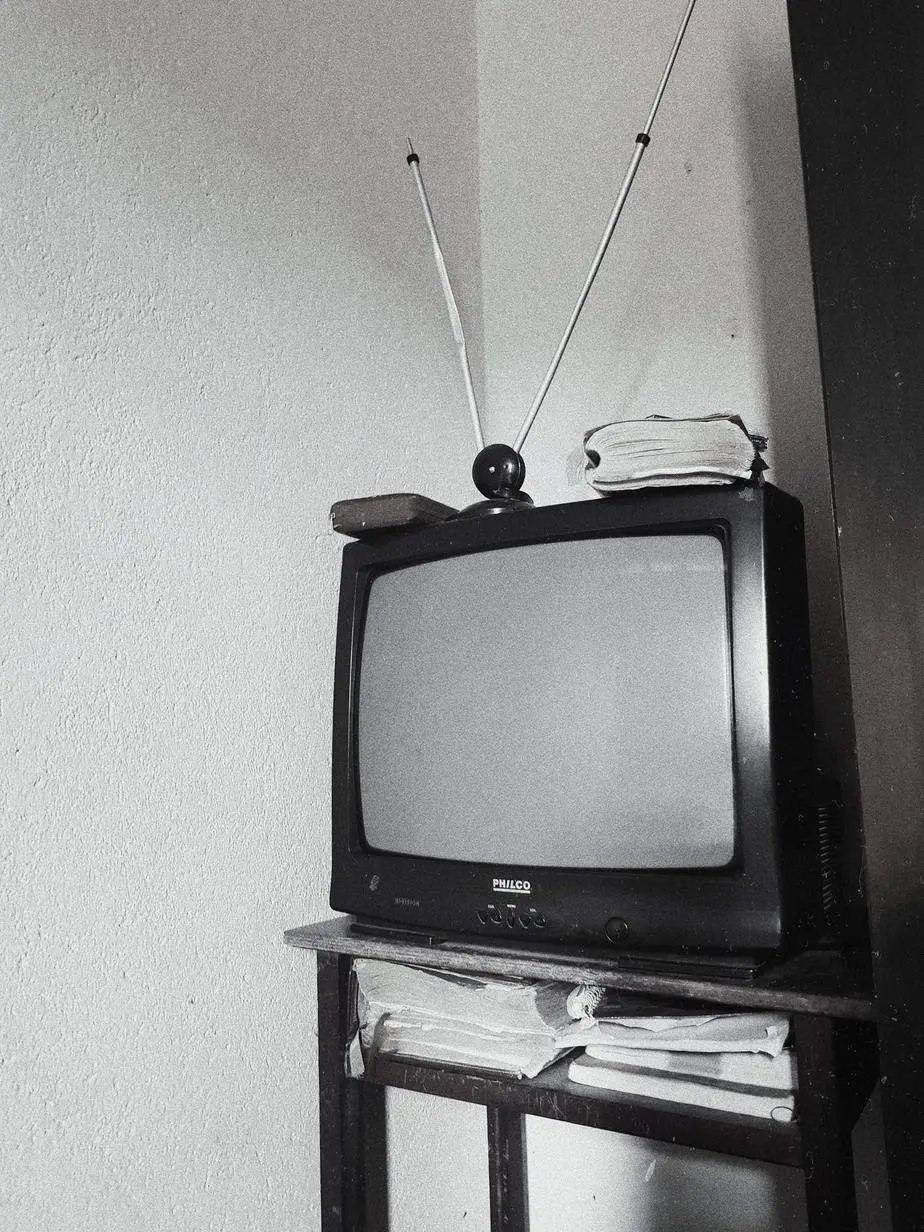
Imagine if you could build your own ham radio antenna. After all, there’s not that much of a difference between a ham radio antenna and an old TV antenna, is there? Well, you may be surprised to know that, with a bit of craftiness, you can transform a TV antenna into a functioning ham radio antenna. It just takes a bit of know-how.
Cable quickly made TV antennas an object of the past but before you throw away your old antennas, consider transforming them into functioning 2-meter band ham radio antennas. Using a drill, clamps, and a few twist bits, you can reassemble a TV antenna and use it to pick up certain frequencies of ham radio.
This guide will walk you through everything you need to know about using TV antennas for ham radio, whether it could work, and how you can reassemble an antenna to pick up certain radio bandwidths. If you’re ready to get crafty, let’s dive in!
Can a TV Antenna Pick Up Ham Frequencies?
Ham, or amateur, radios are only licensed to operate on specific radio frequencies. To pick up these frequencies, you need antennae that are built to specific sizes. The size of the antenna or aerial dictates what frequencies it can pick up. If you don’t have the right size, you won’t be able to transmit or receive a broadcast.
A TV antenna could hypothetically pick up ham radio frequencies but only if the frequencies were once assigned to TV and are now used by amateur radio operators. For example, a TV antenna built for B-channel 2 could pick up certain 6 m 50-52 MHz ham bandwidths. However, most modern TV antennas are not built to these dimensions.
To use a TV antenna on ham bandwidths, you’ll have to do a little reconstruction to make it fit the right dimensions. Furthermore, most TV aerials are only built for receiving signals.
If you want to transmit a ham frequency using a TV antenna, you’ll need additional parts. It’ll take a little patience to put together but with time and attention, you can successfully recycle your old antenna.
What Materials Do You Need to Transform an Old TV Antenna?
Before you attempt to transform an old TV aerial into a ham radio antenna, you’ll need a few key parts. Without these parts, you won’t be able to disassemble the aerial or put it back together into a 2-meter ham band radio antenna.
You can find most of these parts already included in a TV aerial but, if you’re missing anything, you can find them at most electronic stores.
Parts you will need to transform a TV antenna into a 2 m ham antenna:
- An antenna boom
- Antenna clamps
- Antenna driven elements
- A reflector roughly 5% longer than the driven elements
- Antenna directors that are roughly 5% shorter than the driven elements
- An electric drill for removing and connecting parts
- A hacksaw to shorter the length of each part
- An antenna U-bolt
- Antenna end caps
- Self-tapping screws or pop rivets
- A length of RG-58 cable
- A soldering iron
Once you’ve gathered your parts, you can then begin assembling them into a 2-meter Yagi high-gain stacked radio antenna. Using this setup, you’ll be able to access all 2-meter ham radio frequencies and, as long as your existing antenna aerial wasn’t too damaged, you’ll do so without spending an arm and a leg.
Be warned, though, this isn’t an easy process. If you’ve never used a soldering iron or are unfamiliar with how antenna aerials are set up, we recommend partnering with a more experienced amateur radio enthusiast and working together.
What Should You Keep from an Old TV Aerial?
Old TV antennas and aerials might look like piles of junk but you’d be surprised by how many useful parts are hidden inside. For example, the boom of an old TV aerial has a lot of useful parts that, once removed, can be put to good use in a VHF antenna. You can even make a high-gain stacked Yagi array if you have two similar aerials.
Use a drill and a series of clamps to secure parts to the main boom. Avoid attaching the driven element directly to the boom, though, as it should be insulated with non-conductive supports. Driven elements should be kept aside for later use as directors that you’ll wire together before grounding them to the main boom.
The TV antenna’s rod stock can then be cut down to pick up 2-meter ham radio frequencies. You can even salvage the boom-to-mast connectors, such as the U-bolt, as long as they are not too rusted. Use Liquid Wrench or another lubricant to loosen the connections before unthreading them. If too rusty, you can find replacement parts at RadioShack or other electronic parts stores.
How to Reconstruct a TV Antenna for 2-Meter Ham Radio Bandwidths
Depending on what you managed to salvage from your TV antenna aerial, you should be able to recreate a five-element Yagi antenna suitable for picking up 2-meter ham radio bandwidths. If the antenna’s reflector-mounting hardware isn’t too rusty or degraded, leave it where it is. It should be grounded at a center point.
Use a hacksaw to cut the aerial boom down to 5’ 5 ½”, then replace the end caps to reduce wind load and noise. If you plan to vertically orient your 2-meter antenna, reposition the boom-to-mast clamp a full 90° from the original setting.
Then, use the U-bolt as a guide to drill two holes measuring ¼ inch in diameter slightly below the boom’s center point. If it seems that the boom-to-mast clamp position will interfere with the first director, move it just enough to give necessary clearance.
The parts should be spaced out at about 0.2 λ. You may have to cut the remaining directors down to size. After trimming, attach the directors to the main boom, making sure to space them accordingly. We recommend attaching these parts using self-tapping screws, pop-rivets, or bolts. If you need more length, you may have to butt together two shorter pieces with sleeves made of element tubing.
How to Construct Driven Elements
Building driven elements isn’t as difficult as it seems. You can create a basic inductive coupling from the original TV antenna by dissembling the main components and using the insulator and element parts. Discard any remaining parts, including the crossed network of wires.
Remove the elements from the insulator by drilling out the rivets and then reattach them to your assembly with the flat area of a clamp. Be careful to not block access to the drive elements’ interiors when you place the fastenings. This area must remain clear to leave room for the matching stubs.
Cut an 18.375-inch piece of RG-58 cable to build a stub. Uncover the dielectric at each end of the cable and then solder a shield braid to the main center conductor. Use heat-shrink tubing or black electrical tape to cover the shorter ends of the stub and keep them from shorting out against the driven element.
Uncover roughly 1” of the outer covering from the center of the stub. We recommend using a razor blade to cut through the braid at the midpoint, being careful to not cut into the dielectric. Once exposed, unravel the braid outward from the center. Carefully twist the braid and avoid melting the dielectric. You’ll use these braids later to connect to the coaxial feed.
Connect the boom and driven element assembly roughly 16.375 inches away from the reflector. Insert the covered ends of the stubs you just made into the element. Solder the feed line to the two twisted braids you just made or install a BNC or SO-239 connector to link the leads with the boom. Then, add a layer of silicone sealant to protect the connections from the environment.
As long as you properly connected everything, the inductive stub should provide a low standing wave ratio across the entire 2-meter bandwidth. If not, you may have to tweak the connections. You can reduce wind noise and load by crimping the ends of each element. Then, simply attach your new array to the mast and try it out.
Conclusion
For a lot of home-based ham radio enthusiasts, recycling sounds like a lot of work—work that’s likely not worth the effort. Turning old TV antennas and aerials into functioning 2-meter ham radio antennas is nothing new though. Since the switch to cable TV, amateur radio operators have been scouring junk-yards and recycling centers for this now-discarded gold mines of metal antenna equipment.
Transforming an old TV aerial into a functioning ham radio antenna might take a little more work than you’re used to but, if you’re experienced with soldering and deconstructing electrical products, you can quickly and cheaply create an antenna you can use at home. The trick is to find quality materials, be patient, and cut your necessary parts down to the correct lengths.
References
http://www.arrl.org/band-plan


