
Ham radio has been a popular hobby for many years, enabling enthusiasts to communicate with others across the globe using various frequencies. In recent times, innovative technologies like Raspberry Pi have greatly contributed to this field, offering hobbyists a diverse range of projects to experiment with. A Raspberry Pi is a tiny, affordable computer that can be programmed and customized to serve a variety of purposes, including integration with ham radio.
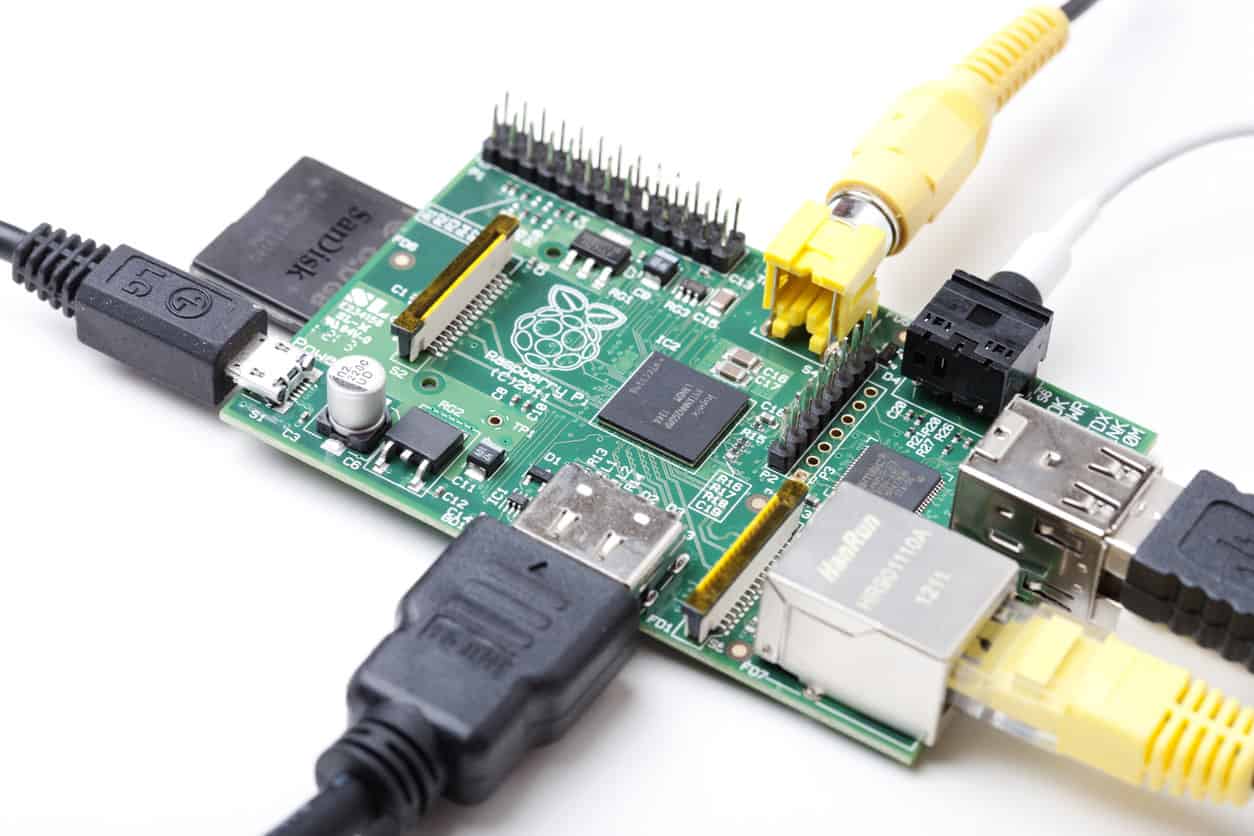
For those not familiar with the Raspberry Pi, it is essentially a single-board computer that can be easily programmed and controlled through its General Purpose Input Output (GPIO) pins. When combined with ham radio applications, it allows for numerous creative solutions, ranging from building Software Defined Radios (SDRs) to designing clocks and even portable communication devices. Among the many available projects, several popular examples showcase the impressive versatility of using Raspberry Pi for ham radio.
Thanks to the ever-growing community of Raspberry Pi and ham radio enthusiasts, these projects continue to push the boundaries of what is possible using this technology. As an added bonus, Raspberry Pi’s affordability and accessibility make it even more appealing for amateur radio enthusiasts to delve into the world of digital signal processing and wireless communications, discovering innovative solutions while engaging with this stimulating hobby.
Raspberry Pi and Ham Radio Fundamentals
Ham Radio Basics
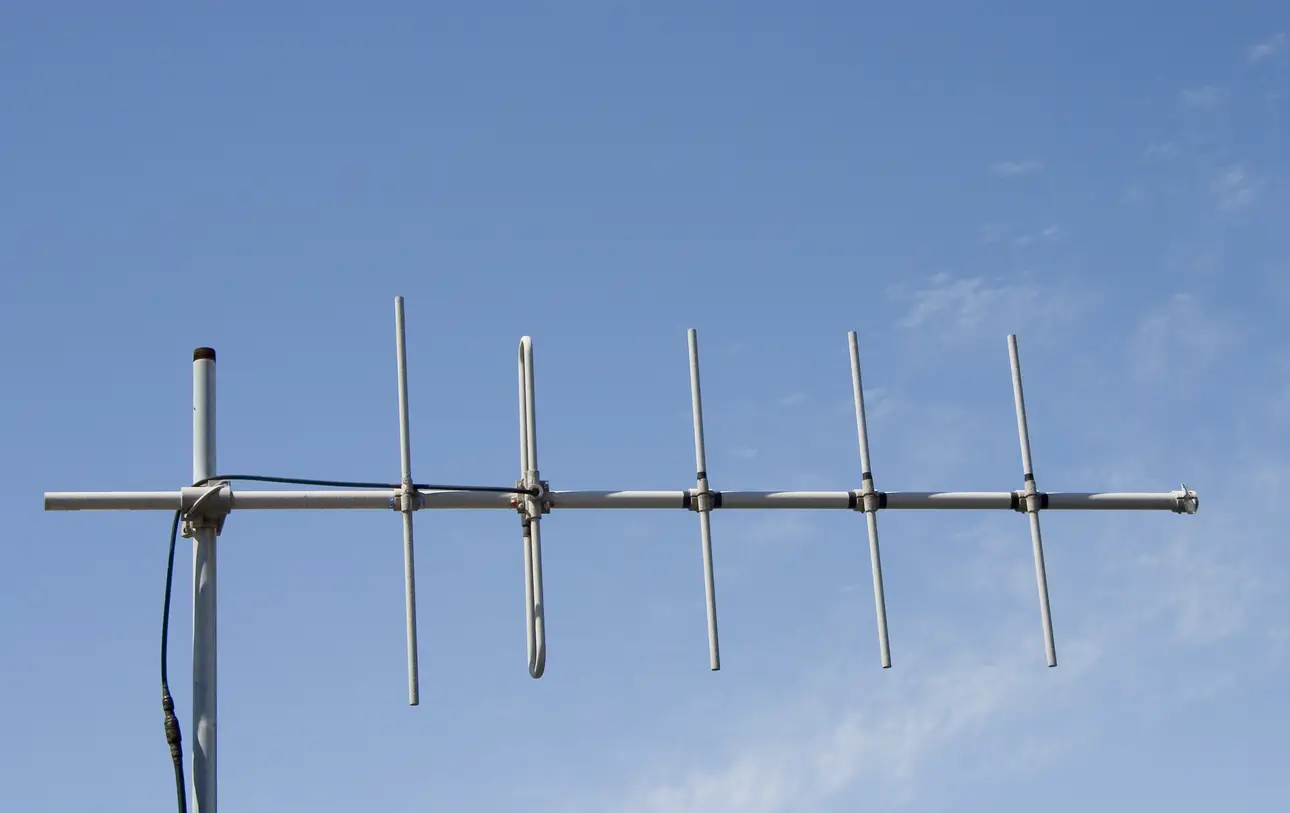
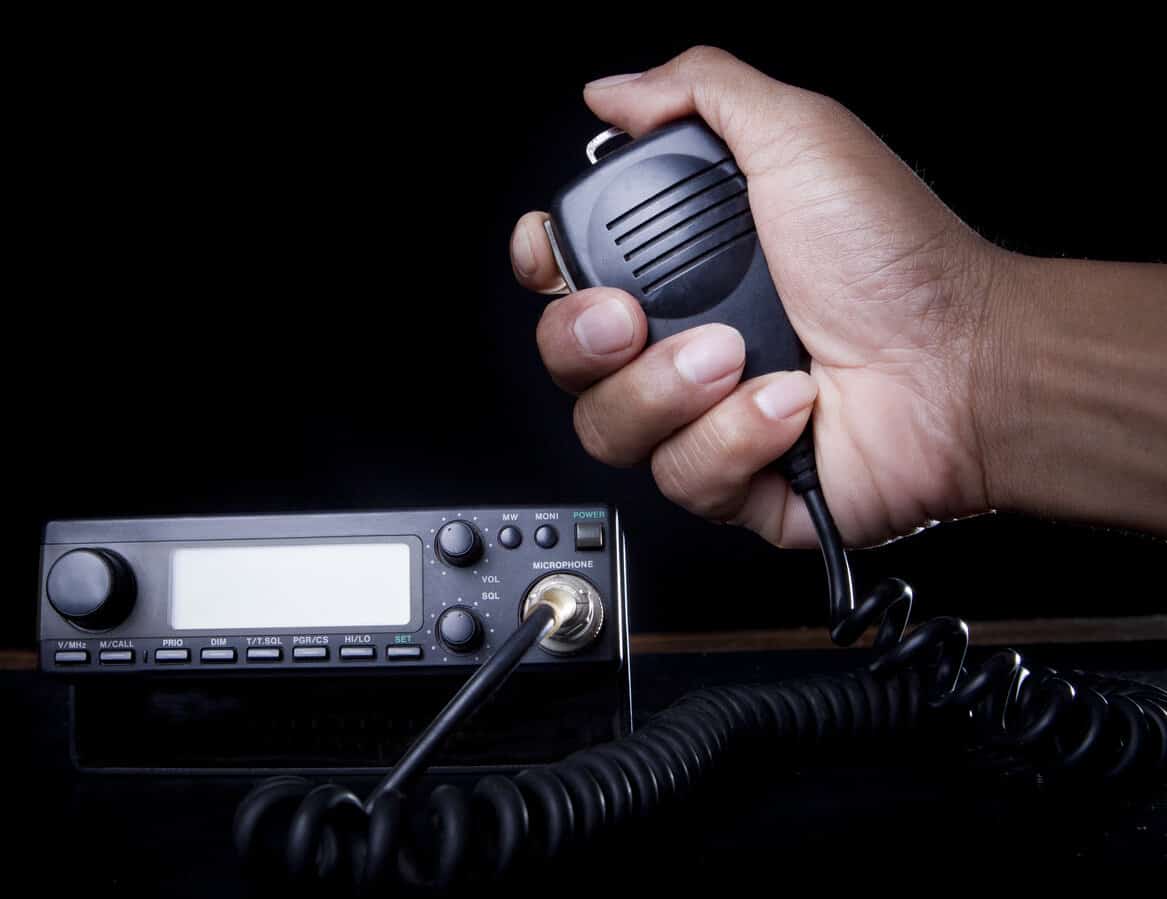
Ham radio, also known as amateur radio, is a popular hobby and service that involves communication between radio operators using radios and antennas. It allows users to transmit and receive messages over various frequencies and bands, providing a versatile means of communicating across the globe. Some common uses include emergency communication, recreational conversations, and hobby experimentation.
There are several license classes for ham radio operators, each with its requirements for operating and its privileges. It’s crucial to obtain the appropriate license to operate ham radios legally.
Raspberry Pi Basics
Raspberry Pi is a series of small single-board computers widely used for educational purposes, DIY projects, and home automation systems. They are known for their affordability, versatility, and ease of use. Each Raspberry Pi model comes with varying processing capabilities and features, such as GPIO pins, USB ports, and wireless connectivity. The Raspberry Pi runs on a variety of operating systems, most commonly Raspbian, based on the Debian Linux distribution.
By integrating these two concepts, Raspberry Pi can be programmed for ham radio use. Raspberry Pi provides a low-cost platform for building and experimenting with various ham radio applications, including:
- Software-defined radios (SDRs)
- Repeater systems
- Signal decoding
- Packet and digital communications
- Customized radio control systems
Some popular Raspberry Pi ham radio projects include combining a Raspberry Pi with an SDR dongle, building a functional repeater, setting up a ham radio clock, or incorporating it into a complex software-defined radio system. Additionally, hobbyists can use Raspberry Pi to create tracking systems for flights or satellites.
Raspberry Pi’s compatibility with various hardware and software platforms has made it a popular choice among ham radio operators.
Setting Up Ham Radio on Raspberry Pi
Hardware Requirements
To set up a Ham radio station on a Raspberry Pi, you will need some essential hardware components. Here’s a list of items to acquire:
- A Raspberry Pi (Preferably Raspberry Pi 3 or 4)
- An SD card (at least 16GB)
- A power supply
- A USB mouse and keyboard
- A monitor or screen with HDMI support
- A Real-Time Clock (RTC) module
- Audio cables and connectors (specific to your transceiver)
In addition to the above components, you may need a Radio Frequency (RF) module and antenna, depending on your specific Ham radio setup requirements.
Installing Raspbian Operating System
Follow these steps to install the Raspbian operating system on your Raspberry Pi:
- Download the latest version of the Raspberry Pi OS (previously called Raspbian) from the official Raspberry Pi website.
- Insert the SD card into your computer and format it using a tool like SD Card Formatter.
- Write the downloaded Raspberry Pi OS image to the SD card using an imaging software like Balena Etcher.
- Safely remove the SD card from your computer and insert it into the Raspberry Pi.
- Connect the necessary peripherals like the mouse, keyboard, and monitor to the Raspberry Pi.
- Plug in the power supply to boot up the Raspberry Pi, which will then display the Raspbian OS on the connected screen.
- Follow the on-screen prompts to complete the initial setup of your Raspbian OS, such as changing the default password, selecting your time zone, and connecting to a Wi-Fi network.
With the Raspbian operating system installed, you are now ready to configure your Raspberry Pi for Ham radio use. For detailed instructions on setting up various Ham radio applications on your Raspberry Pi, you can refer to tutorials like this Ham radio setup guide.
Popular Ham Radio Software for Raspberry Pi
Fldigi
Fldigi is a widely-used ham radio software designed for decoding digital modes on Raspberry Pi. It is easy to install and compatible with many devices, making it a favorite among experienced and amateur operators alike. Fldigi supports most common digital modes, such as PSK31, RTTY, and Olivia – which are frequently used in ham radio operations.
JS8Call
JS8Call is another popular software for Raspberry Pi that specializes in weak-signal communications. It is based on the FT8 protocol and allows operators to send and receive messages even under unfavorable radio conditions. This application is especially useful for emergency communication, as it can connect with other stations even when traditional networks fail.
CQRLOG
When it comes to logging contacts and managing station activities, CQRLOG is the go-to program for Raspberry Pi users. This ham radio software provides powerful features like advanced searching and filtering options, real-time DX cluster monitoring, and automatic QSL card generation. Compatibility with QRZ and LoTW databases ensures seamless integration with a wide range of resources.
QSSTV
Slow Scan Television (SSTV) enthusiasts will find great value in QSSTV, a dedicated software for decoding and transmitting SSTV images on Raspberry Pi. This application supports various modes, including Martin, Scottie, and Robot, and provides an intuitive user interface to enhance the overall experience. With QSSTV, users can easily share and receive images over radio waves, expanding their range of communication.
Gpredict
Satellite tracking is an essential aspect of many ham radio activities, and for that purpose, Gpredict is the preferred software among Raspberry Pi users. This powerful tool offers real-time satellite tracking, detailed orbital predictions, and visualization of satellite passes. With Gpredict, operators can ensure accurate pointing of antennas and optimize communication with satellites supporting digital modes like D-STAR.
SDR and Raspberry Pi
Gqrx SDR Receiver
One of the popular software tools for SDR and Raspberry Pi is the Gqrx SDR receiver. Gqrx is an open-source software defined radio (SDR) receiver powered by the GNU Radio and the Qt graphical toolkit. It works seamlessly with various SDR hardware, including the RTL-SDR dongle. The software provides a user-friendly interface for tuning, demodulating, and recording signals 1. To install Gqrx on the Raspberry Pi, follow the instructions available on the Gqrx website.
OpenWebRX
OpenWebRX is another excellent choice for implementing an SDR receiver on Raspberry Pi. It is a multi-user SDR receiver that serves a web interface, enabling you to access your radio remotely through a web browser 2. OpenWebRX supports a wide range of SDR hardware and offers various decoding options for digital modes, making it a versatile option for ham radio enthusiasts. Details on setting up OpenWebRX on your Raspberry Pi can be found on the OpenWebRX GitHub page.
SDR Receivers and Transceivers
Incorporating an SDR receiver or transceiver with your Raspberry Pi opens up a plethora of possibilities for your ham radio projects. Some popular SDR hardware options for the Raspberry Pi are:
- RTL-SDR dongle: A low-cost USB SDR dongle that is capable of receiving a wide range of frequencies and can be used with various SDR software 3.
- HackRF One: A versatile SDR transceiver that offers both transmitting and receiving capabilities, making it a popular choice for advanced amateur radio projects.
- LimeSDR: A flexible SDR platform that can accommodate multiple frequency bands and offers features such as adaptive digital predistortion, which helps in avoiding signal distortion.
In conclusion, using a Raspberry Pi in conjunction with SDR technology allows for a versatile and cost-effective approach to exploring the world of ham radio. With an array of software and hardware options available, you can build a tailored solution to meet your requirements and interests.
Footnotes
Advanced Ham Radio Projects on Raspberry Pi
APRS Stations
Automated Packet Reporting System (APRS) stations are popular Raspberry Pi projects in the Ham radio community. APRS provides real-time data communication using packet radio, enabling users to share GPS locations, weather reports, and messages. Raspberry Pi can be used to build an APRS station by integrating a GPS receiver, TNC, and radio transceiver. Software such as Dire Wolf or Xastir can be installed to handle packet encoding and decoding, providing a cost-effective and compact APRS solution.
DMR Hotspots
Digital Mobile Radio (DMR) hotspots are another fascinating project for Ham radio enthusiasts using a Raspberry Pi. These devices act as mini repeaters, allowing communication between DMR radios and the internet. Raspberry Pi hotspots can support various digital voice modes, such as D-STAR and System Fusion, in addition to DMR. To create a DMR hotspot, you’ll need a digital modem, like the MMDVM, and software such as Pi-Star or F4GOH’s tutorial.
Satellite Trackers
Raspberry Pi satellite trackers enhance communication with Ham radio satellites by providing real-time tracking and antenna adjustments. Utilizing a combination of software, like Gpredict, and hardware, such as rotator controllers, you can build a fully automated satellite tracking system with Raspberry Pi. This project enables precise antenna pointing, elevating the efficiency and reception of satellite signals for amateur radio operators.
Weather Stations
Weather stations are another practical Raspberry Pi project for Ham radio enthusiasts. By pairing sensors and modules like anemometers, barometers, and hygrometers with a Raspberry Pi, you can create a DIY weather station that provides valuable atmospheric data. The gathered information can be integrated into APRS systems or accessed over the internet. Open-source software like OpenWebRX, WeeWX, or pywws can be utilized to handle data processing and visualization, offering a customizable and expandable weather monitoring solution.
Accessories and Additional Tools
Raspberry Pi has become a popular platform for Ham radio enthusiasts, offering numerous applications and tools to enhance their experience. This section discusses some essential accessories and additional tools that can be useful when setting up a Ham radio on Raspberry Pi.
Ham Clock
The Ham Clock is a useful tool for amateur radio operators. It displays local and UTC time information on a Raspberry Pi-powered display. This device ensures that operators are aware of the time, especially during cross-time-zone communications.
To set up a Ham Clock, a Raspberry Pi can be mounted inside a monitor, creating a self-contained unit. The clock application runs on the Raspbian operating system and can be easily managed and updated as needed.
GridTracker
GridTracker is a versatile software that complements the popular WSJT-X application for digital communication modes. It displays a visually appealing map-based representation of the communication grid, making it easier for users to monitor their contacts and propagation.
To use GridTracker on a Raspberry Pi, install WSJT-X and configure its settings. Next, download and install GridTracker. Once both applications are set up, they can interact with each other and provide valuable information in real-time.
HamPi
HamPi is a Raspberry Pi-based Ham radio operating system that provides a complete set of tools and applications pre-installed for amateur radio operators. Some essential features include:
- Pre-configured tools for various communication modes such as FM, SSB, and digital mode operation
- Easy setup for popular radio devices like hotspots and software-defined radios (SDRs)
- Regular updates to ensure compatibility with the latest Ham radio developments
To incorporate HamPi into a Raspberry Pi setup, download the HamPi image from the official website, flash it onto an SD card, and then insert the card into the Raspberry Pi. Once done, power on the device and follow the on-screen instructions to complete the configuration process.
In summary, incorporating Ham Clock, GridTracker, and HamPi into a Raspberry Pi-based Ham radio setup significantly enhances the experience for amateur radio operators. These tools provide valuable information, improve operational efficiency, and offer a comprehensive platform for various communication modes.

