
Here is a secret most new hams learn the hard way: a cheap antenna can ruin an expensive radio, and a good antenna can make a cheap radio shine. If you are new to ham radio and trying to figure out which antenna to actually buy, this guide gives you the straight answer – the best ham radio antennas for beginners, and exactly why each one earns its place.
Think of it this way: your radio is the engine, but your antenna is the wheels. A Ferrari engine bolted to bicycle tires is not going anywhere fast.
Why Your Antenna Matters More Than Your Radio
Your radio creates the signal. Your antenna is what actually launches it into the world – and grabs incoming signals out of the air. If the antenna is poor, it does not matter how good the radio is. The signal never makes it out cleanly, and weak stations never make it in.
This is great news for your wallet. The single best upgrade you can make as a beginner usually costs $20 to $40, not hundreds. Spend modestly on the radio, spend smart on the antenna, and mount it as high as you reasonably can. That formula beats an expensive radio with a bad antenna almost every time.
The Stock Rubber Duck Problem
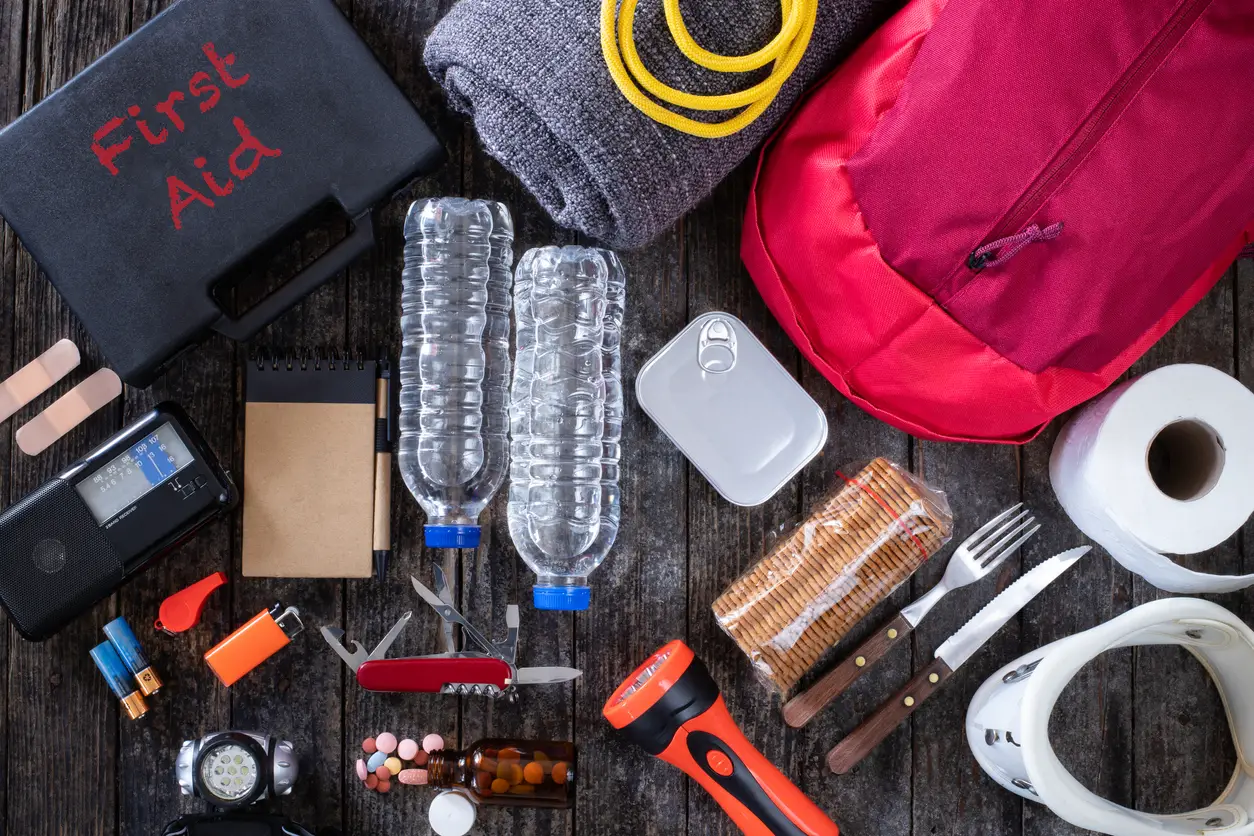
Almost every handheld radio ships with a short, flexible rubber antenna that hams affectionately call the rubber duck. It is convenient, it is durable, and it is a compromise. It is designed to survive being shoved in a backpack – not to give you maximum range.
The rubber duck will get you on the air. It just will not get you very far. For repeaters across town it is usually fine. For anything more, it is the first thing you should replace – and the cheapest meaningful upgrade you will ever make.
Best Antenna for a Handheld Radio
Swap the rubber duck for a longer flexible whip antenna. The classic beginner pick is a dual-band whip around 15 inches long – the Nagoya NA-771 is the one most new hams end up buying, and for good reason. It is cheap, it is tough, and the jump in performance over the stock antenna is genuinely surprising the first time you hear it.
Dual-band just means it works on the two frequency ranges most beginners use (2 meters and 70 centimeters – the bands almost every local repeater lives on). You do not need to memorize that. Just know that a dual-band whip covers what you will actually use day to day.
If you mostly operate from one spot – a desk, a windowsill, a campsite table – also consider a roll-up J-pole antenna. It is a flexible antenna you hang up high with a bit of cord, and it will outperform any handheld whip by a wide margin. They are light, cheap, and pack down to nothing.
Best Antenna for the Car
Trying to talk from inside a car using a handheld is like shouting from inside a metal box – because that is basically what you are doing. The car body blocks your signal. The fix is a magnetic-mount antenna, usually just called a mag-mount.
It is a vertical antenna on a magnetic base that sticks to your car roof in seconds. The metal roof acts as part of the antenna system, and the height plus the clear line of sight makes a massive difference. A dual-band mag-mount runs roughly $30 to $40 and will dramatically out-perform a handheld used inside the vehicle. You will route the thin coax cable in through a door or window seal – fiddly the first time, easy after that.
Best Antenna for a Home Base Station
At home, one rule beats everything else: height wins. An average antenna mounted high will out-talk a great antenna sitting on your desk. Radio signals at these frequencies travel in roughly straight lines, so the higher and clearer your antenna, the further it reaches.
For most beginners, a simple dual-band vertical antenna mounted on the roof, a mast, or even a pole strapped to a fence is the sweet spot. It is reasonably priced, easy to install, and works in every direction at once so you do not have to aim anything.
If you enjoy a small project, the homemade J-pole and the simple wire dipole are two antennas hams have built for decades. They cost a few dollars in parts and perform shockingly well. And if you eventually move into long-distance HF work, a basic wire dipole strung between two trees is one of the best-value antennas in the entire hobby.
Do Not Skip This: A Quick Word on SWR
SWR stands for Standing Wave Ratio. In plain English, it is a measure of how well your antenna is matched to your radio. High SWR means power is bouncing back into the radio instead of going out the antenna – and over time that can damage the radio.
You do not need to become an expert. Just know that an inexpensive SWR meter is a smart early purchase, especially once you move beyond handhelds. Check that your antenna reads a healthy SWR before you do a lot of transmitting. A good antenna at the right length usually behaves itself, but it is worth confirming rather than guessing.
What to Buy First
If you want the short version, here is the order that gives beginners the best results for the least money:
- Step 1 – Upgrade the handheld: a dual-band whip antenna (around $20). The single best bang for your buck.
- Step 2 – Add a mag-mount for the car (around $30 to $40) if you will ever operate while driving or traveling.
- Step 3 – Set up a base antenna at home: a dual-band vertical mounted as high as you safely can.
- Optional – Grab an SWR meter once you are past the handheld stage, so you can check your setup with confidence.
Notice what is not on that list: anything expensive or complicated. Beginners almost never need a big, costly antenna. They need the right simple one, mounted well.
Ready to Get on the Air With Confidence?
Picking the right antenna is one of the first real decisions you will make as a new ham – and now you know exactly where to start and what each one is for. The next questions usually come fast: how to program repeaters, what to say when you first key up, and how to stay on the right side of the rules from day one.
We put together a free New Ham Quick-Start Checklist that walks you through all of it – from your first radio and antenna to your very first contact, in plain English with zero jargon. It is free and you can grab it below.


